Cloud Connected UC is a global view of our on-prem UC from Control Hub.It provides a centralized cloud-based tool for analytics and troubleshooting.
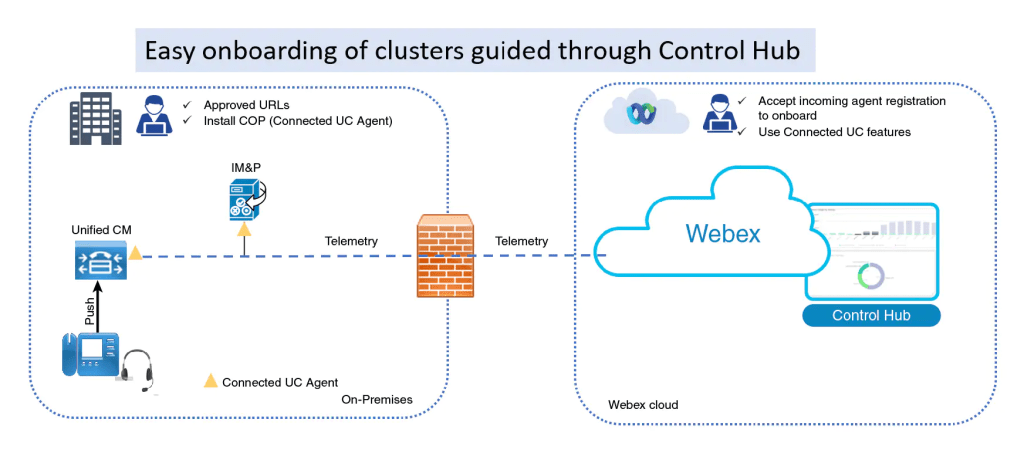
Before you begin
Ensure that your network firewalls and proxies allow access to the following URLs:
- *.ucmgmt.cisco.com
- *.webex.com
Activate Webex Cloud Connected UC
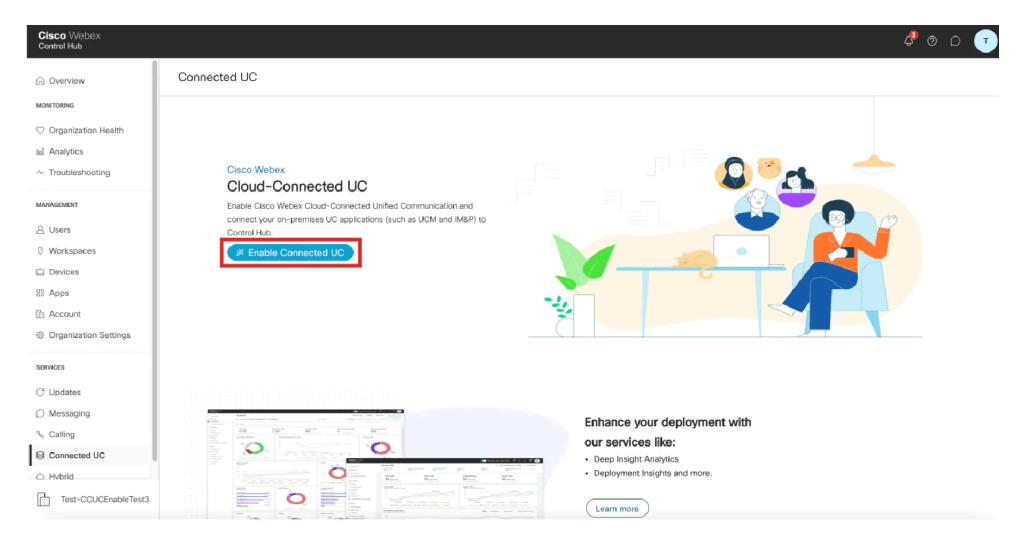
- From the customer view in Control Hub, go to Services > Connected UC.
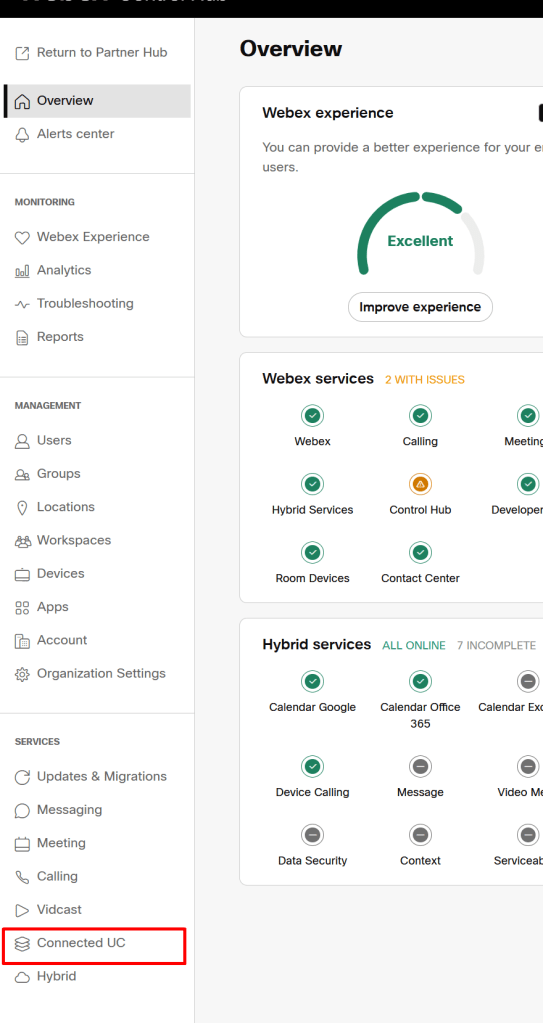
- Click Enable Connected UC, to activate the service on your account.
For Unified CM 12.5 SU4 or higher versions, you can onboard a node using the inbuilt agent COP file that comes with the software and no need to create the agent cop files
There are multiple option available for creating agent COP files
- Create the cop file suing Wizard
- Create the Cop from UC management
Go to Connected UC
Select Agent Install File
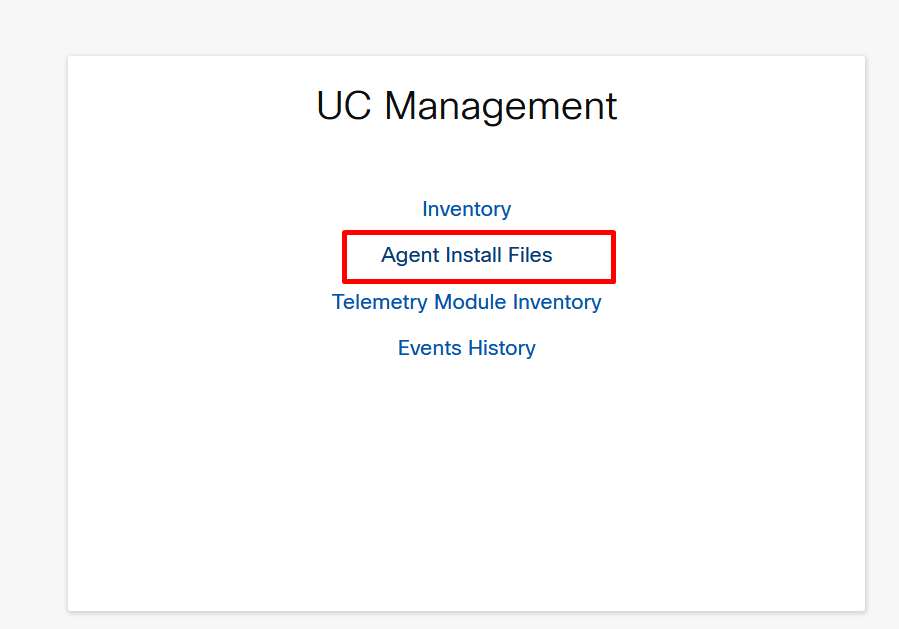
Create Agent install File
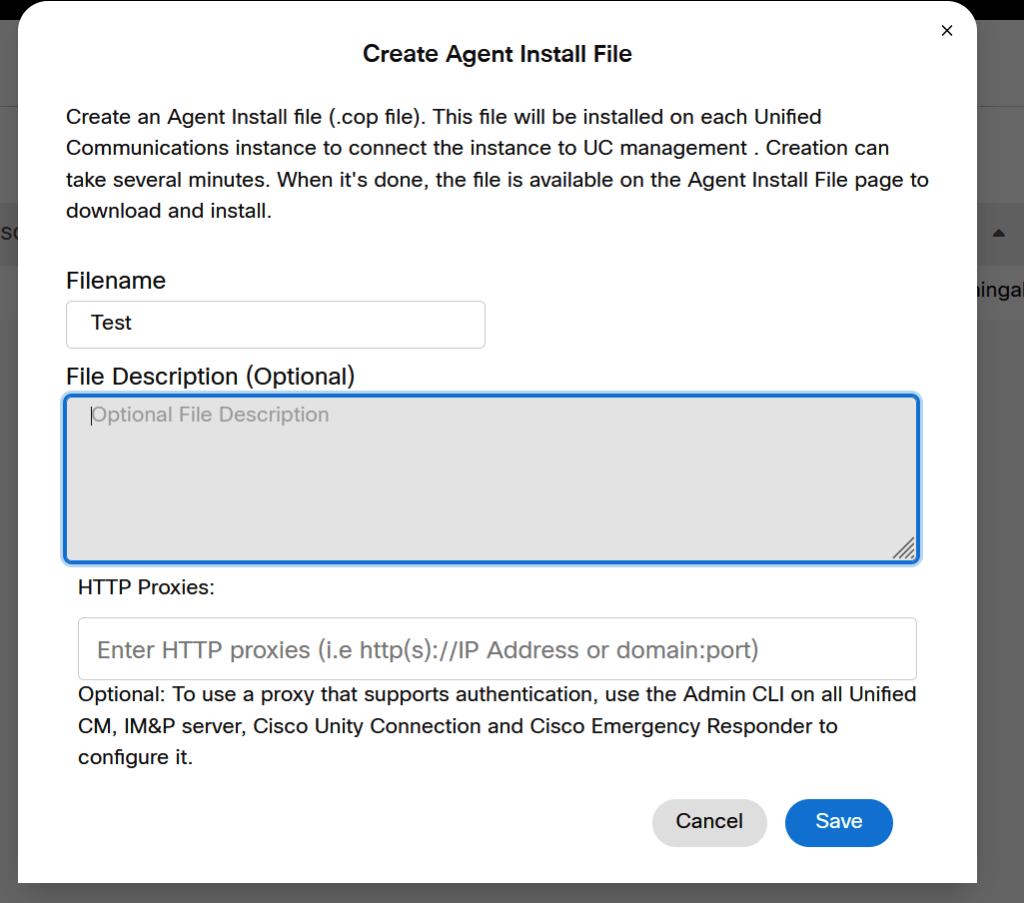
It will take approx 5 mins to create the COP files. Once created you will get download option.

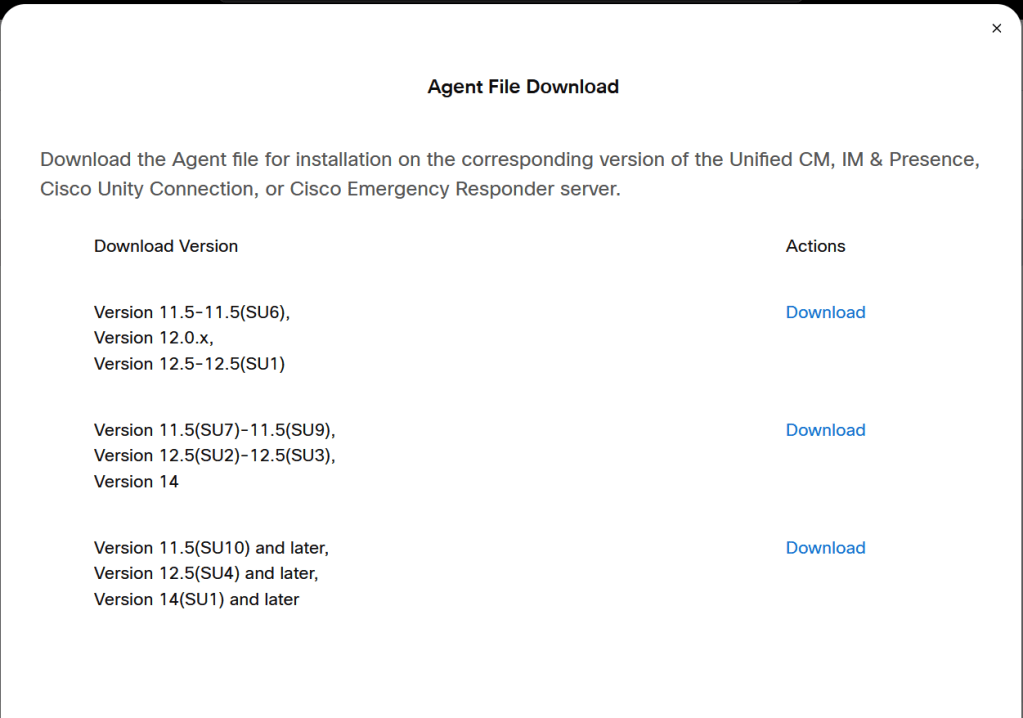
Download the file based on your version and install it on all nodes.
Once installed proceed with below .
Onboard the node using Admin CLI
For Unified CM 12.5 SU4 or higher versions, the agent COP file is bundled along with the software. Use the Admin CLI to onboard a node using this agent COP file. For CER 14.SU1 or higher, the agent COP file is bundled along with the software. Use the Admin CLI to onboard a node using this agent COP file.
- On the Admin CLI prompt, type utils ucmgmt organization organization_id.
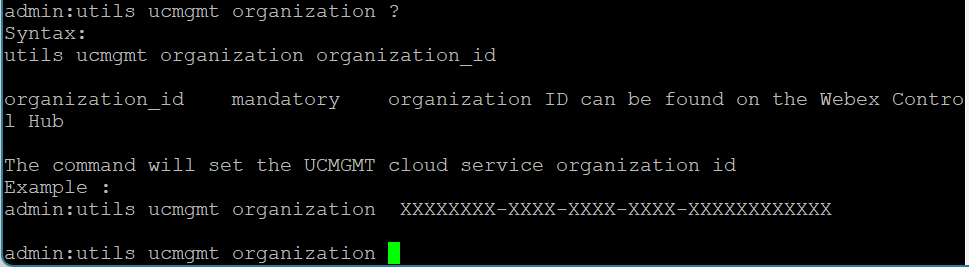
- To find out your Organization ID, from the customer view in Control Hub, go to Management > Account. In the Company Information section, you can see the Organization ID. For example, organization_id could be 43e67ab7-8f31-4566-abfc-16b3de8362ac.
- Type utils ucmgmt agent enable. After a few minutes, the node is onboarded.

- Repeat the above steps on all the nodes in the cluster.
Once the nodes in cluster are onboarded,Complete the below steps.
Verify and Assign Clusters
From the customer view in Control Hub, go to Services > Connected UC. On the UC Management card, click Inventory.
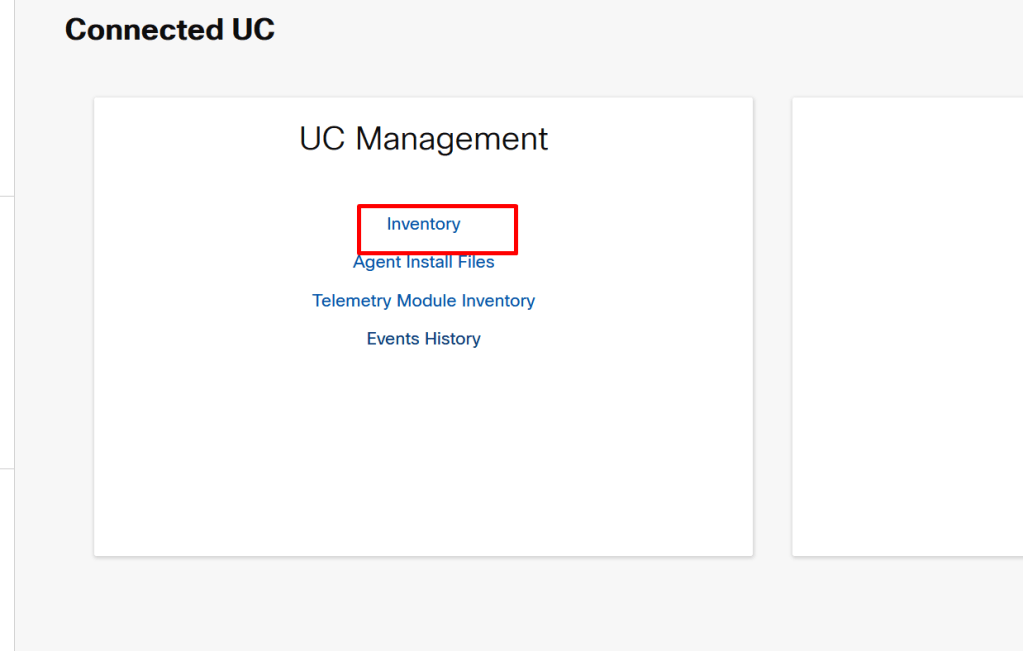
The UC Management page appears showing the list of cluster groups.
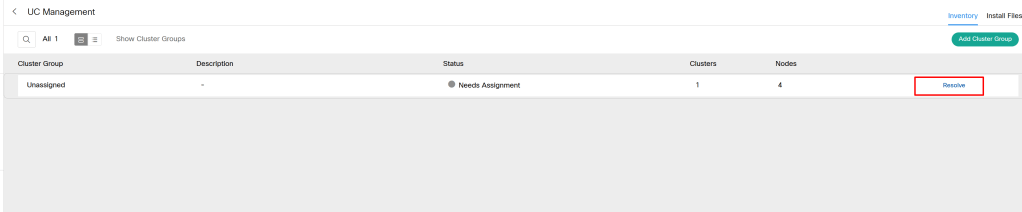
If any of the cluster groups shows the Needs Verification status, click Resolve next to the cluster group.
Click Verify next to a cluster.

From the Cluster Group drop-down list, choose the cluster group to which you want to assign a cluster.
After you assign a cluster to the cluster group, all the nodes belonging to that cluster get assigned to the selected cluster group.
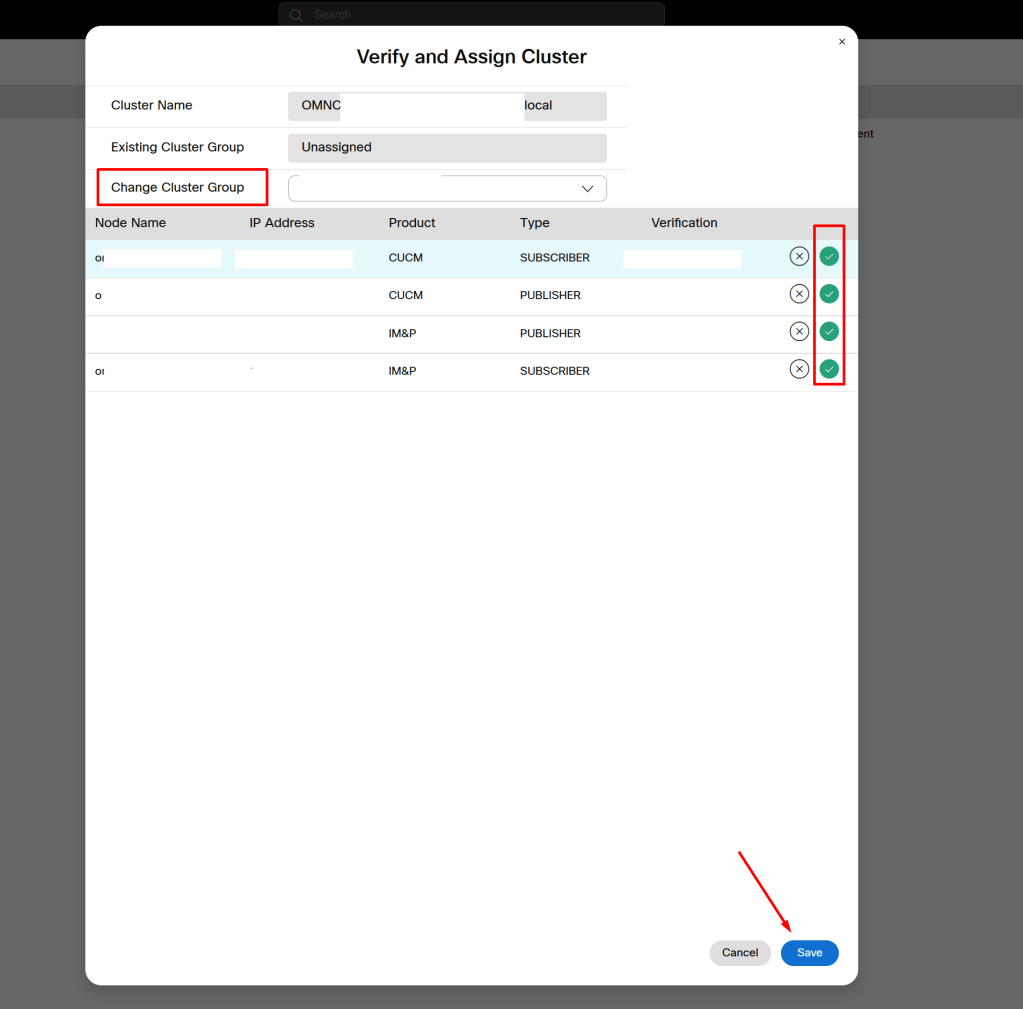
Click check next to the node that you want to assign to the cluster group, or X to remove the node.
Click Save.
After the cloud agent COP file installation, it would take up to one and half hours for the UC Analytics service to be up and running.

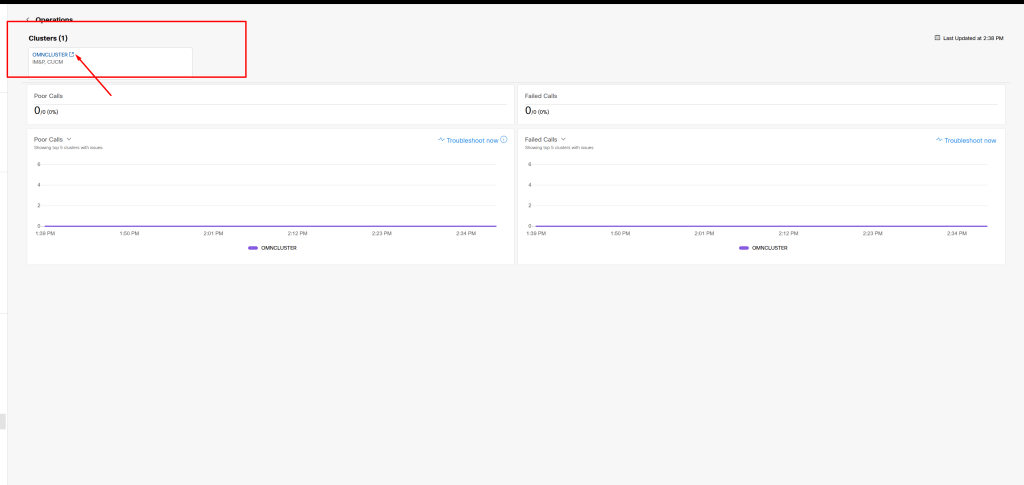
You will start seeing the on perm UC telemetry.