With flex license, you will be getting a Provisioning EMail. Even If you don’t activate the license within 30 days the billing will gets started automatically.
Todays blog is about how to provision and starting a Webex messaging subscription.
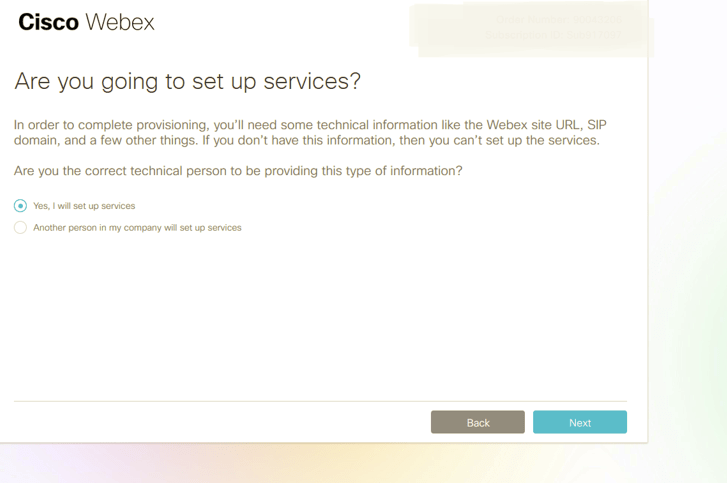
Open the email you received titled Provisioning information required for order…, and click Set Up Your Service.


Choose one of the following options:
- If you’re going to set up the service, choose Yes, I will Setup and select Next. When you click Next, the system checks your email address (referred to as the provisioning contact email, since you are provisioning the account) against existing Webex organizations to see if an organization already exists.
- If you’re not going to set up the service, choose Another person in my company will set up, select Next.

You’ll see one of the three results described below. The bold part is the first sentence of the messages you received. The rest is a description of what the message indicates.
- Based on your email address, you have been matched the following organization. This means the provisioning contact email matches an existing Webex organization. If this is the case, review the Organization information and click Next.
- Based on the email address, we could not find an organization in our identity system to which you may belong. This means the provisioning contact email doesn’t match an existing Webex organization. You can choose to create a new organization–select Create Organization, enter an admin contact email address, Company Name, and then select Next.
- Based on the email address provided, we have found the following Webex organization that match this user’s domain. This means the provisioning contact email doesn’t match any accounts, but the associated domain already belongs to a Webex organization. If this is the case, review the organizations carefully, and use the image below to identify if this is the right organization to choose and select Choose this Org.


Review your subscription mapping. If everything looks right click Next.

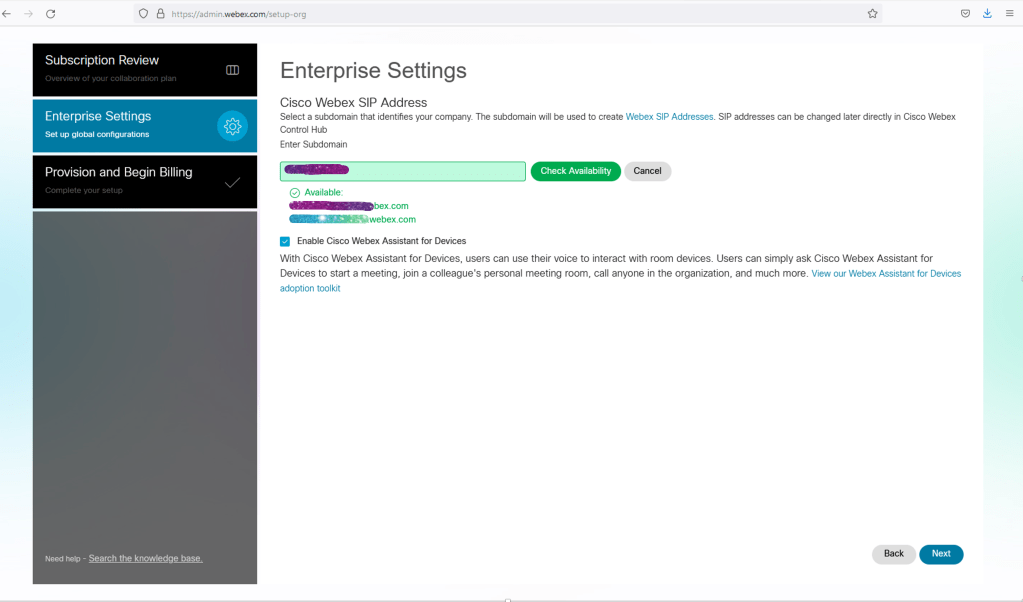
Do Enterprise settings.
By Clicking provisioning your billing gets started.


Thanks for this as it is really helpful for those new to Cisco’s provisioning world
LikeLike