If you have an old CSR and private key, there is no need to generate the CSR. Since i dont have the old key i have to go with generating the CSR.
Generating CSR
Its mandatory to have DME FQDNS as subject alternative Names on HA Proxy certificate. To add the DME FQNDS on SAN Filed we need to use .cnf file which i attach along this blog. when generating the CSR use the .cnf file.
(Edit the file based on your DME Deployment. )
Using winscp,Copy the costom-domain.cnf to HA Proxy
Then use below command to generate the CSR.
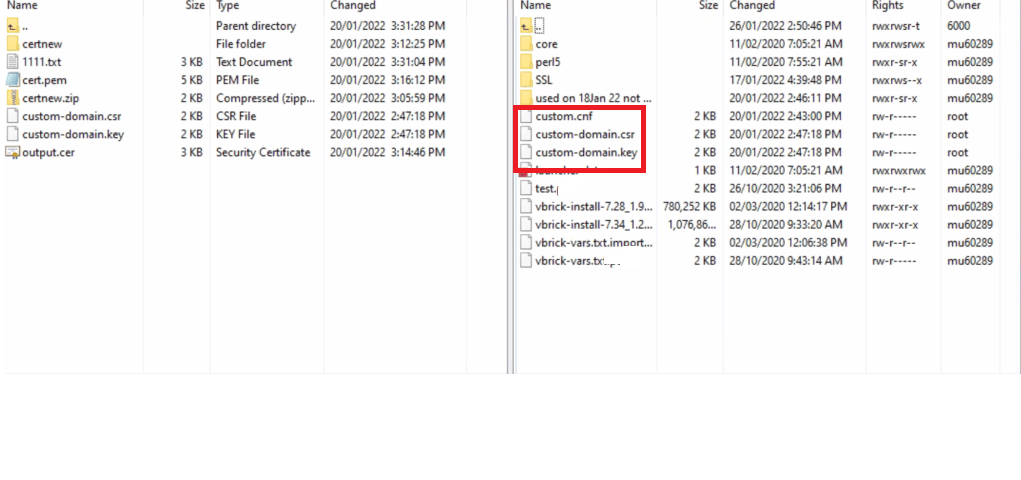
openssl req -new -newkey rsa:2048 -nodes -config custom.cnf -out custom-
domain.csr -keyout custom-domain.key
After issuing the oppenssl command you will see the CSR and and key on HA proxy. Share the CSR file with your CA.
Uploading signed certificate.
Once you get the signed certificate you have two option.
- Combine the certs and make a cert.pem file which includes certificate, root cert and private key in order.
- Or Use cat command from HA proxy CLI.Before using cat command make sure you copy the server certificate and root ca to HA proxy using winscp.
- sudo cat [certificate name].crt RootCA.crt [certificate name].key > cert.pem
After certificate is copied, the default original cert.pem file will need to be renamed and then the actual certificate file renamed as cert.pem (Alternatively, you can edit /etc/haproxy/haproxy.cfg to reflect the name of the new certificate).
sudo mv cert.pem cert_original.pem
sudo mv [Certificate Name].pem cert.pem
After renaming certificate, change the owner, group, and permissions of the cert.pem file.
sudo chown root cert.pem
sudo chgrp root cert.pem
sudo chmod -w -w cert.pem
Verify permissions, owner, and group settings by using “ls –l /etc/haproxy”. They should only show read (r) permissions for root user for the cert file:
-r- -r- root root cert.pem
Restart the HA proxy service using the following commands
sudo service haproxy restart
sudo service haproxy status
Run the following command to check for errors:
sudo haproxy -f /etc/haproxy/haproxy.cfg
(Look for any errors here then hit “Control + C” to stop)
If there is an error returned, and you are unable to fix, copy and paste the output and contact Vbrick Support
Test certificate by accessing Rev URL using https:// in a browser window.
Note: If at this point you are able to access Rev but unable to login then you may need to update the Rev config file (C:\Rev\VBrickPlatform.Runtime.Host\VBrickPlatform.Runtime.Host.exe.config); set httpslinks=”true” in the <ssl> section and restart Rev.
Verify Files
# Check the certificate signing request
openssl req -text -noout -verify -in custom-domain.csr
# Check the signing key
openssl rsa -check -in custom-domain.key
# Check the certificate
openssl x509 -in custom-domain.crt -text -noout
# Check certificate of remote server
openssl s_client -connect my.fqdn.url.internal:443
