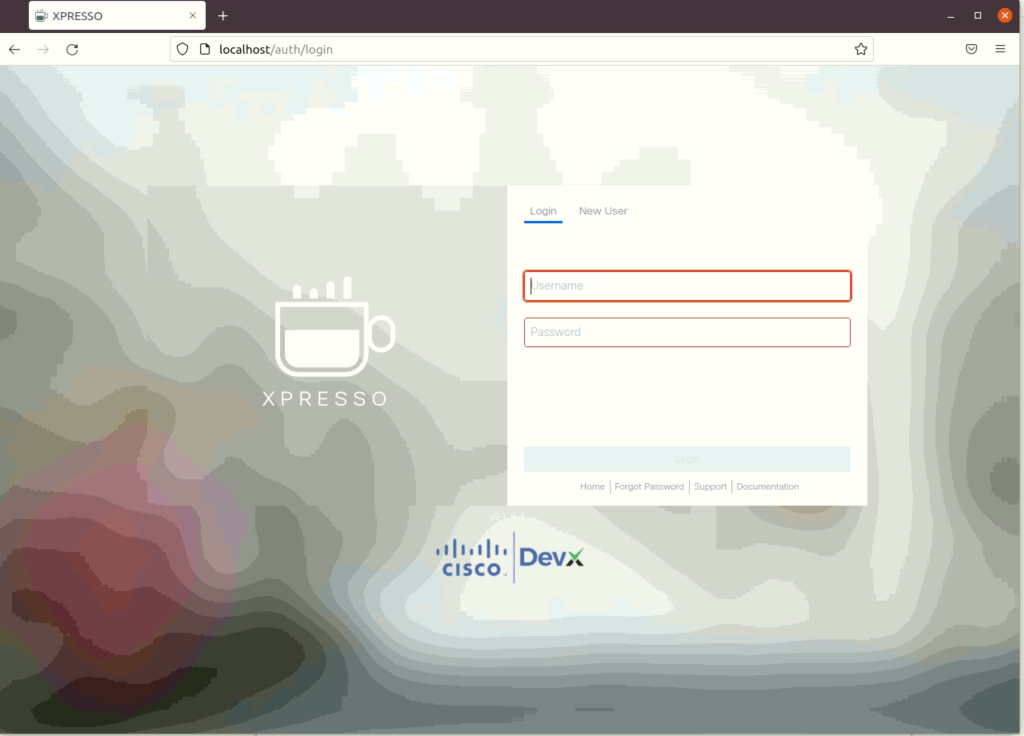
I am new to Docker world..Last two days I was busy setting up Xpresso docker container on my lab. And finally I got the xpresso Login Page. Today’s blog i share the details on how to setup the Xpresso Docker Container.
Xpresso is web based network test automation “dashboard”, which Cisco provides as complementary. XPRESSO is the standard pyATS UI dashboard that manages your test suites, test resources and test results, providing insights to your network through Cisco pyATS.
Why use XPRESSO?
These are the core use cases and benefits of why/how XPRESSO can make your test automation experience easier:
Use Case Scenarios:
- Fully automates your testing and images/releases certification; compresses your DevOps/NetDevOps cycle time from weeks/months to hours/days:
- Creating Jobs: Lets you prepares Job Runs in advance of execution by providing the means to associate all required elements to run the Job such as: your test environment (test harness, Execution Engine, and Location-details); your lab resources (testbeds or topologies); and any localized arguments/environment variables.
- Creating Job Schedules: Allows you automate the execution of Jobs instead of having to manually initiate (kick-off) individual Jobs every time.
- Creating Reservations: Lets you guarantee your system resources for a specific date, time, and duration in advance of your testing requirements.
- Testbed Queuing: Provides automatic queuing of Job Runs, ensures efficient use of testbed Resources and provides testbed/devices utilization stats.
- On-the-fly Job Test Result Comparisons: Allows you to compare the test results from one test run against another and determine the root cause of failures.
- Verification Testing: Allows you to easily validate new software updates from Cisco prior to upgrading your network.
- Baselining Job Test Results: Allows you to set the test results of a Job as a baseline in order to establish a starting point for automated test result comparison and analysis of future runs of the same Job.
- Likewise for release certification, use XPRESSO and its automated tool set to reproduce, test, and troubleshoot networking bug scenarios. XPRESSO has the required plugins that enables integration with the Cisco’s CDETS bug tracker; you can automatically attach XPRESSO generated test results as attachments to the bug CDETS.
Docker
Complete below steps to setup the docker Environment on your UBUNTU Machine.
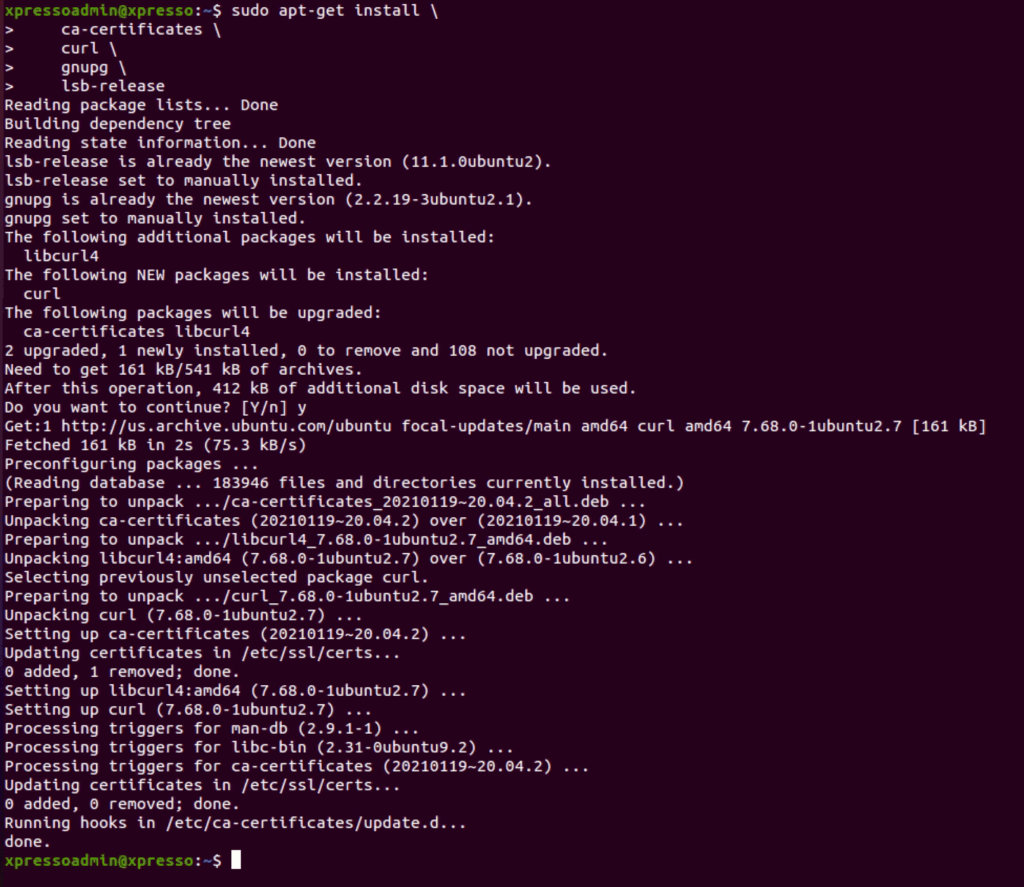
Update the apt package index and install packages to allow apt to use a repository over HTTPS:

Add Docker’s official GPG key:

Use the following command to set up the stable repository.

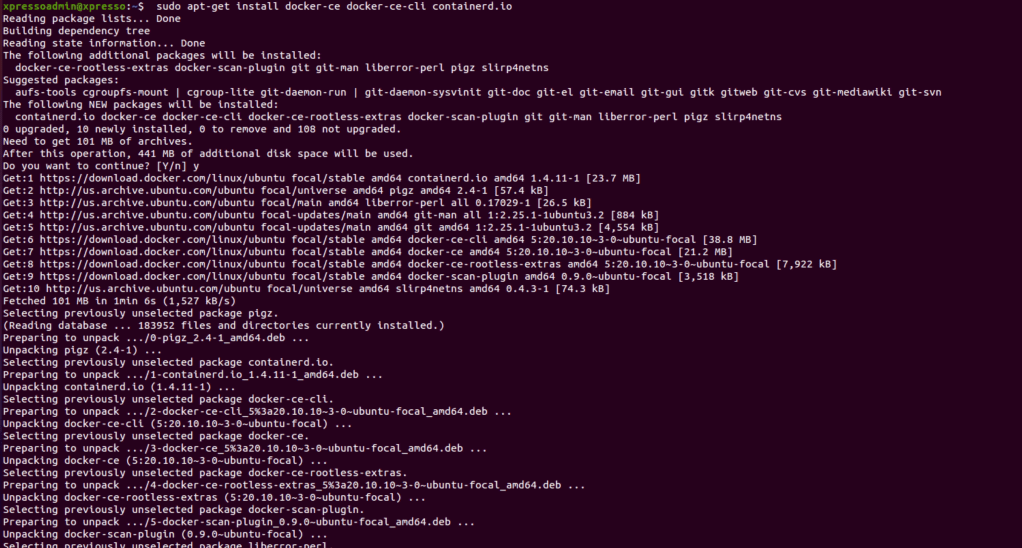
Update the apt package index, and install the latest version of Docker Engine and containerd, or go to the next step to install a specific version:
Create the docker group.

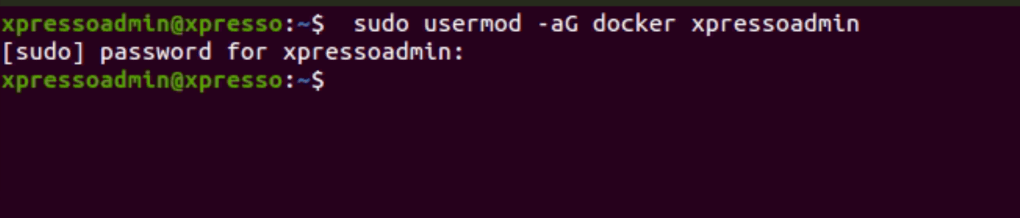
Add your user to the docker group.
Log out and log back in so that your group membership is re-evaluated.
Run this command to download the current stable release of Docker Compose:

Apply executable permissions to the binary:

Test the installation

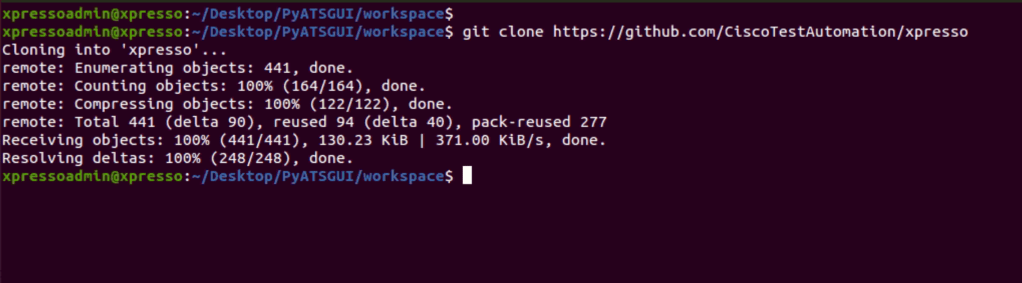
Clone xpresso Github Repository
Clone Repository
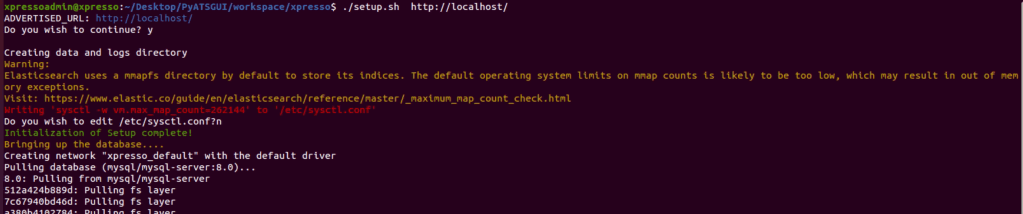
You can initialise the xpresso using available setup script or manually. I choose to go with Script option.
Initializing using setup script

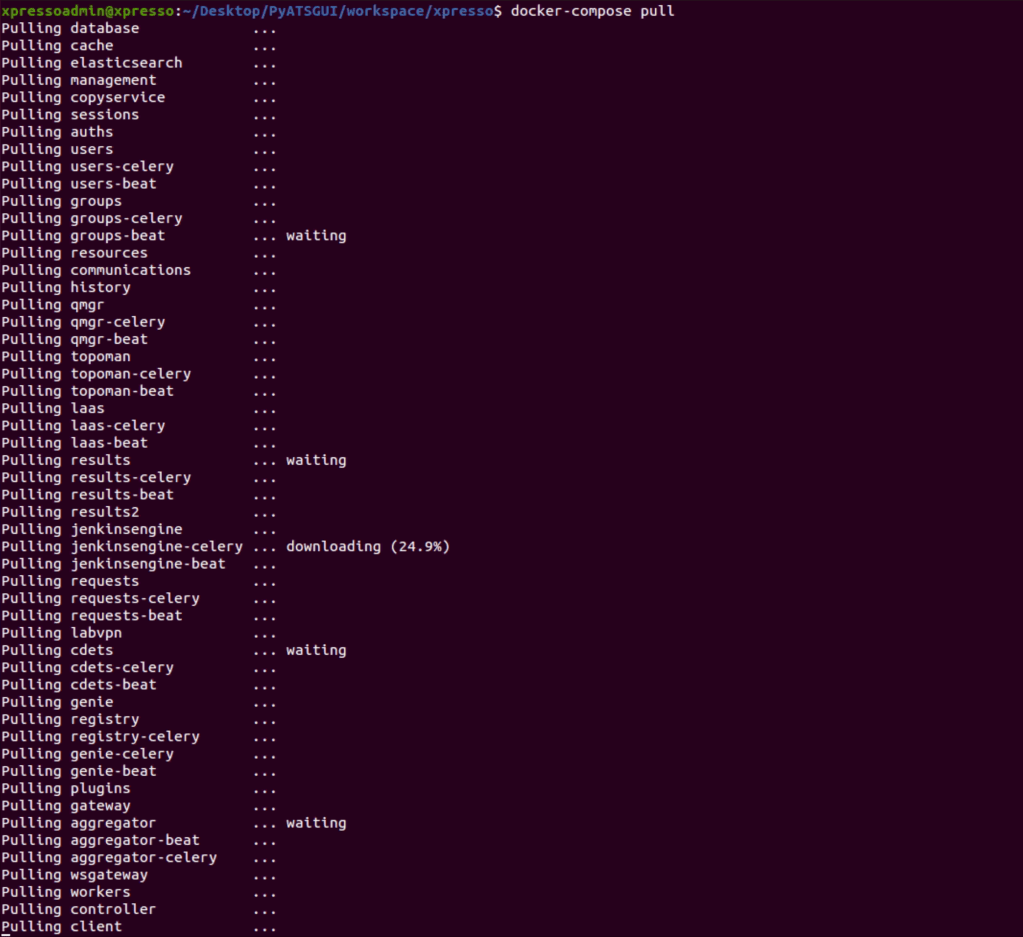
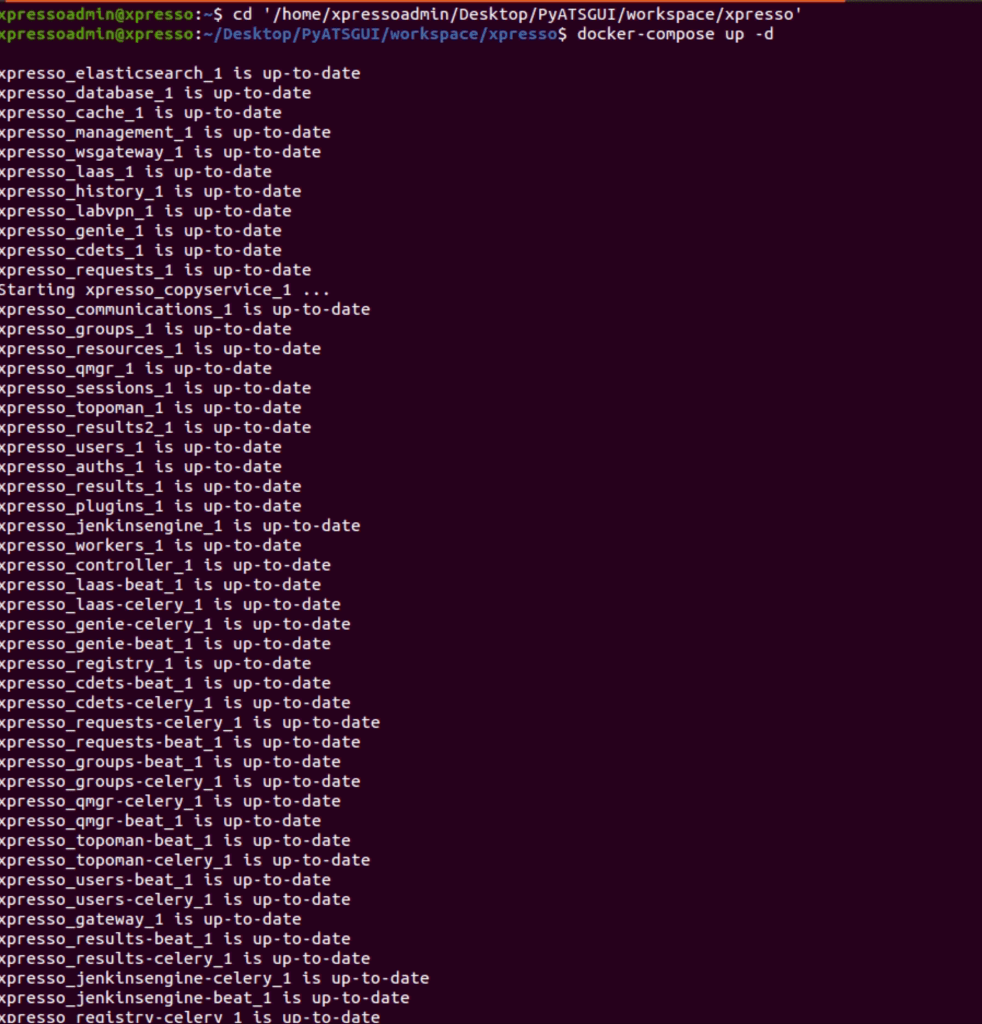
Start Docker Engine
XPRESSO will automatically creates a default admin user at startup. Use the username/password admin/admin to login to the dashboard with full administrator privileges.